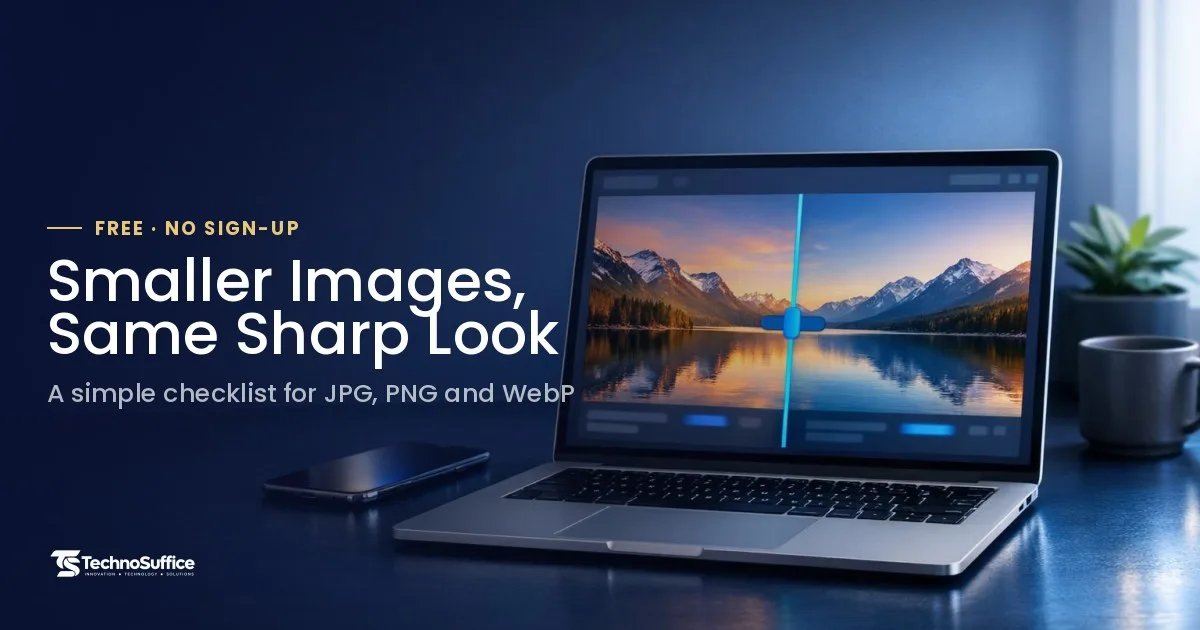
You can compress images without losing quality you can see. The trick is to pick the right format, resize first and stop before the picture starts to look rough. Smaller images send faster by email, fit under upload limits and help web pages load quickly.
The quickest way to start is our Image Compressor, a free online tool that works in your browser with no sign-up and no watermark. What follows is the same checklist we'd walk a client through: what to do before, during and after compression, plus a table of warning signs.
Reach for it any time a photo is "too big." That might be a product photo for your online store, a picture for your Google Business Profile, a blog header or a file for a job application.
Can You Really Compress Images Without Losing Quality?
Yes, but "no loss" can mean two different things. Lossless compression keeps every pixel exactly the same. Lossy compression throws away tiny details, and at sensible settings your eyes won't notice.
Lossless vs lossy in plain words
Compression simply means making a file smaller. Lossless compression packs the data more tightly, so every pixel (one tiny colored dot in the picture) stays the same. You could rebuild the exact original from it.
Lossy compression goes further. It removes small details that are hard to see, which makes the file much smaller, and you can't undo it. The web.dev image performance guide lists GIF, PNG, WebP and AVIF as formats that can be lossless, and JPEG, WebP and AVIF as formats that can be lossy. It also advises checking every lossy result against your own quality standard.
What "no visible loss" means
Plenty of tools promise "zero quality loss" for JPG, and that skips over an important detail. A JPG always loses some data when you save it. The honest goal is that a normal person, looking at the image at normal size, can't spot a difference. That goal is fair, and you can usually reach it without much effort.
Why some images shrink more than others
What's in the picture decides how far you can push it. For example, a photo of a clear blue sky has big smooth areas and shrinks a lot. A photo of gravel, leaves or fine print has sharp detail everywhere, so it shows damage sooner.
That's why no single setting fits every image. It's also why we won't promise you a fixed percentage of savings. Results depend on the image.
Resize vs Compress: What's the Difference?
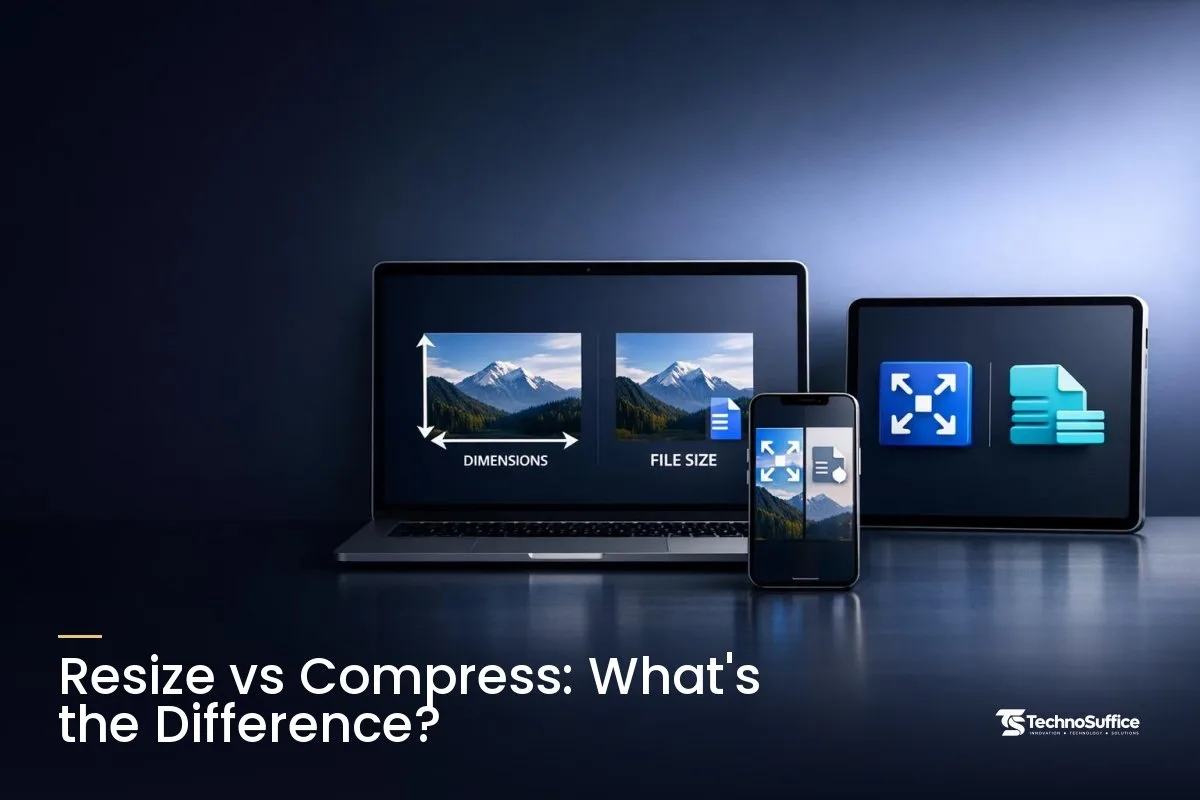
Resizing changes how many pixels wide and tall the image is. Compressing changes how much space the file takes up in KB or MB. You often need both, and the order matters.
Dimensions (pixels) vs file size (KB/MB)
Resolution, or dimensions, is the pixel count, such as 4000 x 3000. File size is how much storage the file uses, and 1 MB is about 1,000 KB.
A phone photo often has far more pixels than a website or email will ever show. So resizing alone can cut the file size a lot.
Which to do first
Resize first, then compress. If you compress a huge photo and shrink it afterward, you've spent effort on pixels that get thrown away anyway. Use our Image Resizer to set the real display size, then run the smaller copy through the compressor.
Quick comparison table
| Resize | Compress | |
|---|---|---|
| What changes | Width and height in pixels | File size in KB or MB |
| Does it lower resolution? | Yes, on purpose | No, the pixel count stays the same |
| Best for | Images far bigger than where they'll be shown | Images already at the right size but still heavy |
| Risk | Blurry if you later need a bigger version | Blocky spots if pushed too far |
| Our free tool | Image Resizer | Image Compressor |
Before You Compress: The Prep Checklist
A few minutes of prep prevents most of the problems people blame on "bad compression." Tick off these points first.
- Keep the original. Always work on a copy. You can't get lost detail back from a lossy file.
- Know where the image is going. An email, a web form with a KB limit, a blog header and a printed flyer all need different sizes.
- Check the pixel size you actually need. For example, if your blog column is about 800 pixels wide, most of a 4000-pixel photo is wasted weight.
- Pick the format. Photos usually suit JPG or WebP. Logos, icons and screenshots usually suit PNG, WebP or SVG.
- Decide if you need transparency. Transparency means see-through parts, like a logo with no white box behind it. JPG can't keep it.
- Remove location data from personal photos. The privacy section below explains why.
How to Compress Images Free With TechnoSuffice (No Sign-Up)
Open the tool, add your image, choose how strong the compression should be, then check the result and download it. There's no account to create and no watermark on the file.
- Open the Image Compressor. Go to the free Image Compressor on a computer or in your phone's browser.
- Add your image. Pick the file from your device.
- Pick the quality level. If you see a quality option, start on the high-quality side. You can always go smaller on a second try.
- Check the result. Look at the new file size and at the image itself.
- Download or try again. If it looks the same and the size fits your need, download it. If it's still too big, go back to the original and lower the quality a little.
Need smaller dimensions too? Run the Image Resizer before step 1, then compress the resized copy. That two-step routine fixes most "my image is too big" problems.
Compress JPG Online Free: Settings That Work
With JPG, the quality setting does most of the work. Lower quality gives a smaller file but more lost detail. Your job is to find the lowest setting that still looks clean.
Quality slider: what to expect
We don't believe in one magic number for every photo. Start high and lower the quality in small steps. Stop at the first step where you notice a change, then go back one step. That's the right setting for that image.
How to spot over-compression
Too much lossy compression leaves compression artifacts: blocky squares, smudgy edges or a fuzzy "halo" around text and sharp lines. Check skies, skin, hair and any words in the image. Zoom to 100% when you compare, because a shrunken view on screen hides problems.
Don't re-save the same JPG again and again
Each time you edit and save a JPG, it goes through lossy compression again. Repeat that several times and the damage adds up. When you need a new version, start from the original.
Compress PNG Without Losing Quality
You can make a PNG smaller with true lossless optimization, or much smaller by using fewer colors. On logos and simple graphics, both usually look identical to the eye.
Lossless PNG optimization
Lossless tools repack the PNG data and drop hidden extras without changing a single pixel. The savings are smaller than with lossy methods, but the image stays exactly the same. This is what "without losing quality" truly means.
Color reduction (quantization) explained
Quantization cuts the number of colors in an image. A logo might use only a handful of colors, yet sit in a format that allows far more. Trimming that palette saves a lot of space.
On simple graphics, most people can't see the change. On photos and smooth color fades, it can cause banding, which means visible stripes where colors should blend.
When to switch format instead
If your PNG is a photo, it's probably in the wrong format. Photos saved as PNG get very large, and converting them to JPG or WebP shrinks them far more than any PNG trick. If it's a logo made of shapes and lines, SVG may be best, because it stays sharp at any size.
JPG vs PNG vs WebP: Which Gives the Smallest File Size?
For the same visual quality, WebP is usually the smallest of the three. JPG comes next for photos. PNG is the largest for photos but the right choice for many simple graphics.
According to Google's WebP documentation, lossless WebP images are 26% smaller than PNGs. Lossy WebP images are 25–34% smaller than similar JPEGs at the same measured quality. Google also says lossy WebP with transparency typically produces files about 3x smaller than PNG.
Format comparison
| Format | Compression | Transparency | Best for | File size |
|---|---|---|---|---|
| JPG / JPEG | Lossy | No | Photos, email, sharing | Small for photos |
| PNG | Lossless | Yes | Logos, screenshots, graphics with text | Large for photos |
| WebP | Lossy or lossless | Yes | Website images of all kinds | Usually smallest of the three |
| SVG | Shapes, not pixels | Yes | Logos and icons | Tiny for simple shapes |
Decision table by goal
| Your goal | Best format | What to do |
|---|---|---|
| Email a photo | JPG | Resize, then compress |
| Web form with a KB limit | JPG (unless the form asks for another type) | Resize, compress, check size, repeat if needed |
| Blog or store product photo | WebP or JPG | Resize to display width, then compress |
| Logo with a transparent background | SVG, PNG or WebP | Compress losslessly or with color reduction |
| Screenshot with text | PNG or lossless WebP | Compress losslessly to keep text sharp |
| Keep the original | Don't compress hard; ask your printer what they need |
Some sites and apps still won't accept WebP. If you get stuck, our guide on how to convert WebP to JPG shows you how.
AVIF in one short note
AVIF is a newer format that can make even smaller files. The web.dev guide linked above mentions tests where AVIF saved more than 50% compared with JPEG in some cases. Savings depend on the image and your settings, so check the result before you use it everywhere.
How Do You Optimize Images for Website Speed?
Serve each image at the size it's shown, in a modern format, at the lowest quality that still looks clean. For many pages, this is one of the simplest speed fixes you can make.
Why images affect LCP
Core Web Vitals are Google's checks for how fast, responsive and stable a page feels. One of them is LCP (Largest Contentful Paint), which measures how long the biggest thing on screen takes to appear. On many pages, that's the hero image, meaning the large photo at the top.
Google's Core Web Vitals guide says LCP should happen within 2.5 seconds of the page starting to load. A heavy hero image can easily push a page past that target.
Right size, right format, right quality
- Right size: don't upload a giant photo and let the page shrink it. The visitor still downloads the full file.
- Right format: WebP for most images, SVG for simple logos and icons.
- Responsive images: a setting called
srcsetlets the site send small screens a small image and big screens a bigger one. - Lazy loading: load images only when the visitor scrolls near them. Never lazy-load the main image at the top, because that delays LCP.
- Set width and height: this stops the page from jumping around while images load. Google measures that jump as CLS (Cumulative Layout Shift).
If you have lots of images, batch compression (shrinking many at once) saves real time. Many website platforms, WordPress included, offer plugins that compress images as you upload them. For speed fixes beyond images, read our guide on how to speed up your website.
PageSpeed Insights image warnings in plain words
PageSpeed Insights and Lighthouse are free Google tools that test page speed and list fixes. The wording of their image warnings changes over time. They usually point to one of three issues: your images are bigger than where they're shown, they could be compressed more, or they'd be smaller in a modern format like WebP.
Check your page afterward
Once your new images are live, run the page through our Website SEO Checker. It gives you a quick look at other issues that may hold the page back.
After You Compress: What to Check and the Red Flags
Before you use the new file, run it past this table. It only takes a moment and catches most problems.
| What to check | Why it matters | Red flag |
|---|---|---|
| Look at 100% zoom next to the original | Shrunk previews hide damage | Blocky squares, smudged edges, halos around text |
| File size | It must fit your email, form or page budget | Still over the limit, or bigger than before |
| Pixel dimensions | Too small looks blurry when shown larger | Image looks soft on a big screen |
| Transparency | Logos need see-through edges | A white or black box around the logo |
| Colors and fades | Color reduction can cause stripes | Banding in skies or gradients |
| Text in the image | Text shows damage first | Fuzzy or hard-to-read letters |
| Format accepted | Some forms only take JPG or PNG | Upload rejected |
Common Mistakes That Make Images Blurry or Heavy
Most image problems come from a few habits. Each one has a simple fix.
- Photo saved as PNG. The file gets huge. Save photos as JPG or WebP.
- Logo saved as JPG. You lose the transparent background and get fuzzy edges. Use SVG, PNG or WebP.
- Huge image shown small. Visitors download pixels they never see. Resize first.
- Converting a few-color PNG to lossy WebP or JPG. The new file can end up bigger, as Google's WebP FAQ explains. Try lossless WebP instead, or keep the optimized PNG.
- Re-saving JPGs over and over. Quality drops each time. Work from the original.
- Forgetting to keep the original. Once it's gone, the lost detail is gone too.
Privacy: Strip Location Data and Check Before You Upload
Photos can carry hidden details, including where they were taken. Remove that data before you post personal photos, and check how any online tool handles your files.
What EXIF data can contain
Metadata, often called EXIF, is hidden information stored inside a photo. It can include the camera or phone model, the date and sometimes the GPS location.
Removing it makes the file a little smaller. More importantly, it keeps details like your home location out of photos you share online.
Check how any online tool handles your files
This applies to every online tool you use, ours included. For sensitive images, such as ID cards or private family photos, read the tool's privacy details first. If a photo is truly private, the safest choice is not to upload it anywhere you don't trust.
Printable Image Compression Checklist
Copy this short version and keep it near your desk.
- Save a copy and keep the original untouched.
- Know where the image will be used and any size limit.
- Resize to the real display size with the Image Resizer.
- Pick the format: JPG or WebP for photos, PNG, WebP or SVG for graphics.
- Compress with the Image Compressor, starting at high quality.
- Compare at 100% zoom and look for blocky spots, halos and banding.
- Confirm the file size fits, and lower quality a step only if needed.
- Remove location data from personal photos.
- For websites: set width and height, and don't lazy-load the top image.
Frequently Asked Questions
How do I compress images without losing quality?
Resize the image to the size you need, then compress it and compare it with the original at 100% zoom. Use lossless compression for logos and screenshots when every pixel must stay the same. For photos, lower the JPG or WebP quality until just before you see a change.
Is resizing an image the same as compressing it?
No. Resizing changes the pixel dimensions, while compressing changes the file size. Compression alone doesn't lower the resolution, so for the best result, resize first and compress second.
Which is smaller, JPG, PNG or WebP?
WebP is usually the smallest for the same visual quality. Google reports that lossy WebP files are 25–34% smaller than similar JPEGs, and lossless WebP is 26% smaller than PNG. PNG is usually the largest for photos.
Why did my PNG get bigger after I converted it?
A PNG with only a few colors can grow when you convert it to a lossy format like JPG or lossy WebP. Keep the optimized PNG, or try lossless WebP instead.
How do I compress images without losing quality in Photoshop?
Use the export option, pick JPG or WebP for photos, and lower the quality in small steps while you watch the preview. No desktop editor? Our free Image Compressor does the same basic job in your browser.
Can I compress an image on my phone for free?
Yes. Open our Image Compressor in your phone's browser and use it the same way you would on a computer. There's no app to install and no sign-up.
Is the image compressor free, and is my file safe?
Yes, it's free with no sign-up and no watermark. As with any online tool, read the privacy details before you upload sensitive images, and remove location data from personal photos first.
Want a Faster Website Built Right From Day One?
Compressing images is a smart first step. But when a site feels slow, images are rarely the only cause. At TechnoSuffice, we build fast-loading websites with performance and technical SEO set up from day one. Every site is responsive and follows Core Web Vitals best practices, and we're proud of our 98/100 PageSpeed score.
We've delivered 491+ projects over 10+ years for clients worldwide. Every project gets a dedicated team, a project manager and weekly demos, so you always see real progress. After a free discovery call, you get a fixed quote with milestones and no hidden costs.
Once your site is live, our maintenance plans cover updates, security patches, backups and performance monitoring. If you want ongoing help getting found on Google, take a look at our SEO services.
For a quick fix today, shrink your next photo with the free Image Compressor. For a site that's fast from the start, Request a Free Quote, and our team will reply within one business day.